
How to Upgrade Windows 10 and Install Linux

Why you should upgrade Windows 10 to Linux
Windows 10 will reach the end of its life as of October 14, 2025. If the computer is older than 2019, it will no longer receive free software and security updates and Microsoft's technical support will cease for this (and previous versions) of Windows. Running an out-of-date OS can have serious potential risks, and if you're one of the estimated millions of people using Windows exposed to the internet, you may have a problem. We have seven solutions.
Ed Bott, longtime tech journalist and Windows expert identified 5 things you can do about this during his May 31 interview on KFI radio. 1. Buy a new Windows 11 computer, 2. Pay Microsoft per month for updates, 3. Ignore it and ensure you use antivirus, 4. Follow a 4-step registry hack to bypass the technical compatibility checks to force an upgrade, 5. Use Rufus to do some trickery for certain computers. The last 2 are free options to keep using your computer after mid-October. We'd like to add two more options.
First, if you are going to buy a new computer, we suggest buying a new computer with Linux pre-installed from Entroware, System76, and other computer providers. Second, you could install Linux on your Windows 10 computer or almost any computer you like. Here are instructions on how to replace Windows 10 with Ubuntu MATE, Linux Mint or any other version of Linux. If you need additional justification, this article by the Ubuntu MATE community (which I helped to write when Windows 7 reached end of life in 2020) talks specifically about WHY to install Linux to replace Windows.
Backup First
Back up any important data to another storage device before you start to install in case something goes horribly wrong! Save all of your important files and folders to an external USB drive or a 2nd hard drive. DO NOT save anything to the same drive you intend to use for your chosen Linux. Once you have started the replacement process, there is no going back! Here is an article with some considerations around backups: Backup Strategies For Your Computer
Get the installation file
You can download everything you need to install your chosen version of Linux in a single file.
- You'll find the file for Ubuntu MATE or Linux Mint by going to the Download page on the appropriate website https://ubuntu-mate.org/download/ or https://linuxmint.com/download.php
- We recommend the latest Cinnamon Edition of Linux Mint or the most recent LTS release of Ubuntu MATE. In June 2025, that is release 24.04.1 LTS (Noble Numbat)
- Scroll down the web page to find the button labeled Direct for Ubuntu MATE or simply Download for Linux Mint.
- Select a location on your hard drive for your downloaded file, if prompted, and click Save to begin your download.
Create Installation Media
The .iso file you downloaded using the instructions in the previous section doesn't do you much good on its own. You need to put that file in a form that will allow you to install it on your computer. You'll need an 8GB or larger USB stick/flash drive and a USB stick writing tool. This article from the Ubuntu MATE website describes using balenaEtcher on Windows to create bootable USB media. Here, also, is a link to the official Ubuntu/Canonical method for "Creating a bootable USB stick on Windows" using a tool called Rufus. This should work whether you are installing Ubuntu or another distribution of Linux.
For information on how to make a CD or DVD for installation using Windows, macOS and Ubuntu, see the "Imaging a USB Drive" article.
Now that you've created the installation media, you've done your backup, and you've planned for recovery (You DID do all that right?) you are ready to install or just try one of our two recommended versions of Linux.
Install Linux Mint
The Linux Mint team have provided complete instructions in this Linux Mint Installation Guide.
Install Ubuntu MATE
The Ubuntu MATE team have provided instructions in this post Installing Ubuntu MATE.
Installing Any Linux from a "Live USB Stick"
For most relatively modern computers, the installation process will take well under an hour to complete regardless of the version you choose. Stay connected to the Internet to install all available updates. Plug your device into a power source if it is running on battery power.
- Completely shut down your computer.
- Insert the USB stick.
- Start the computer and watch the screen to determine which function key to press to change the boot device. The message flashes by quickly, right at the bottom edge of the screen, but the most frequently used keys are
F12,F4,F2,F1, and theDelkey. It depends on your computer's manufacturer. If your computer boots up normally and you don't see Ubuntu MATE startup, shut down and try again. - When you get to the screen that lets you change the boot device, select the menu entry that represents the Ubuntu MATE live USB stick. Press the key that lets you boot using the USB stick. That's usually the
Enter,F9, orF10key. If you need help, try the article from the How-To Geek website, How to Boot Your Computer From a Disc or USB Drive. - Before the computer starts loading Linux, you will be given some options. Select the option: Try or Install Ubuntu MATE. (Or the equivalent option for your chosen Linux.)
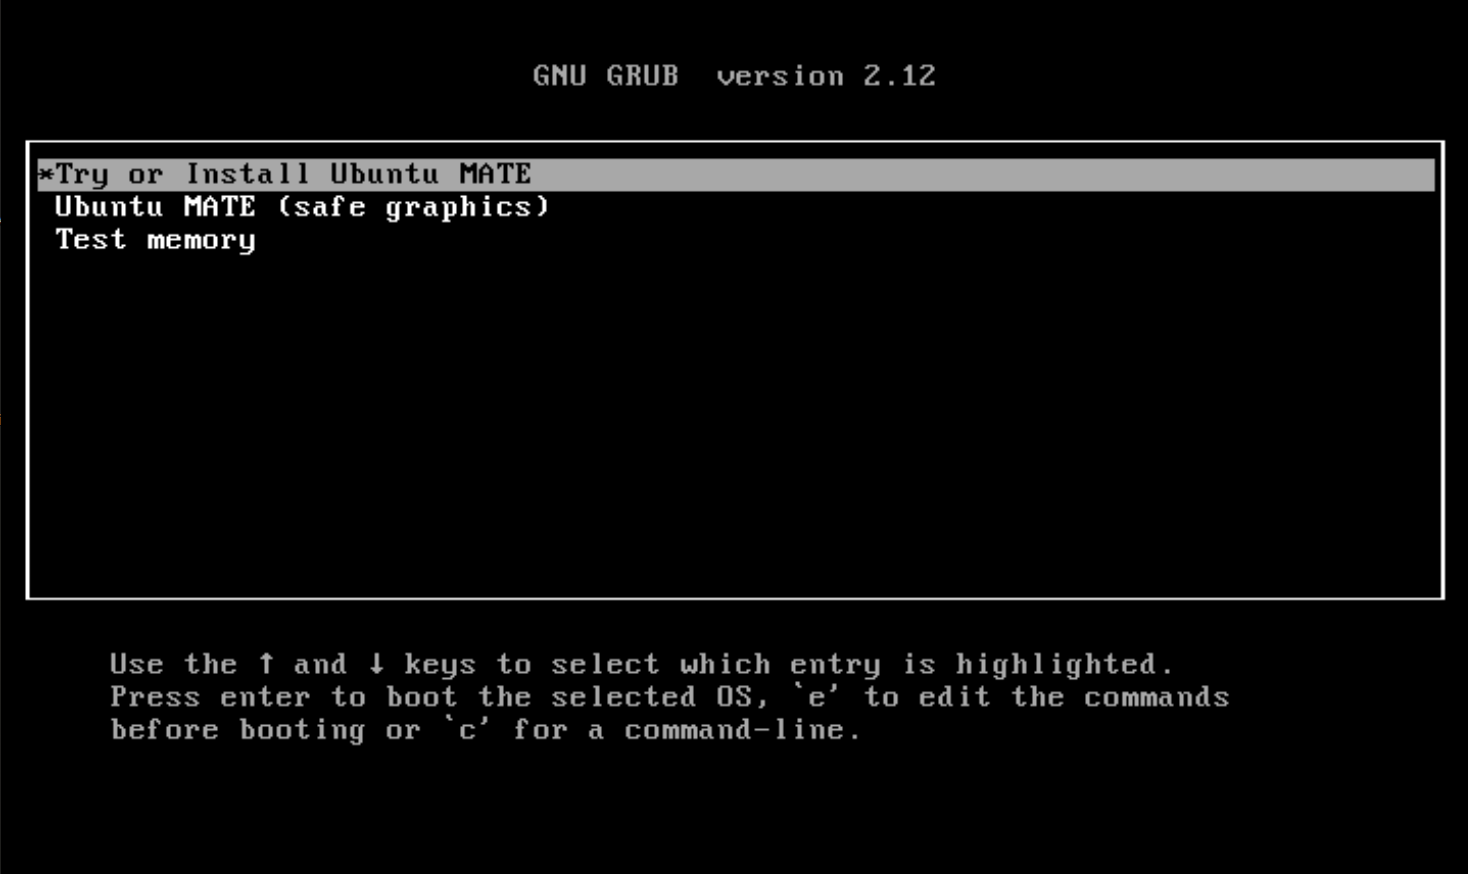
NOTES: Once your chosen Linux has booted successfully, you will be able to use the computer as though it were installed. It's not. It is running from the USB stick. The live session provides an opportunity to test Linux without modifying your computer, allowing you to test that all of your peripherals are working as intended before committing to installing it on your machine.
You don't need to connect to the Internet to complete the installation of Linux, but if you want to use the web browser or if you want to install additional updates during the installation, you should connect your network cable, or connect to Wi-Fi. Click the Network Manager icon in the upper or lower right corner of the screen (in the panel/system tray) and select your SSID for your wireless network. If prompted, enter the passcode, click the Connect button and you will be connected. - If you want to simply try Linux first, cancel the installation if it starts automatically. To begin the installation later, double-click the Install icon on the desktop.
- Once the installation process starts, walk through the installer accepting the defaults.
- Once the installation is complete, you can press the Continue Testing button if you wish to continue to use the live environment, or press the button to restart your computer and log into your new installation of the Linux version you chose!
- When prompted, remove the installation medium, then press Enter. Your computer will restart (if that's what you selected) and you will be prompted for your password to complete the log in process.
What's next?
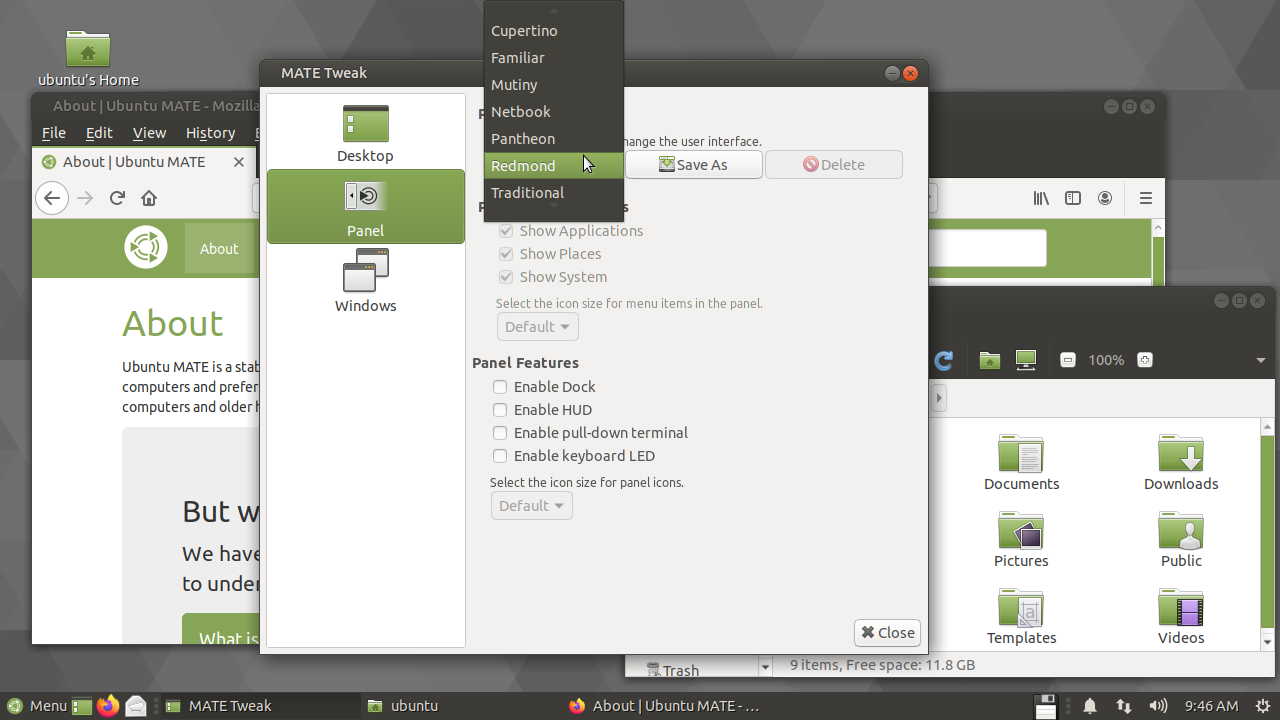
Now that you have installed Linux, you can make it look a little more like what you are used to seeing on Windows 10. The article Do these 4 things to begin using Linux on your computer in record time! explains more.